Finally, you’ve designed (or commissioned) the perfect logo for your business. Once you add the finishing touches, you hit the SAVE button, and breathe a sigh of relief.
But you’re not done yet. Before you hit that ENTER key, you need to decide which file extension to save your logo as.
You’ve heard of JPEGs, PNGs, and PDFs—but what’re the differences between these file types? And when should you choose one over another?
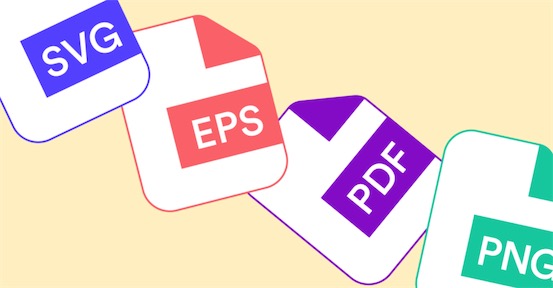
In this article, we’re going to explain the most common file formats for logos, and when you should use them:
The Two Main File Types
When you’re working with digital images, there are two general file formats. Each type can be saved with different extensions (but we’ll get into that later).
Raster: These files are composed of pixel grids. The larger the image becomes, the lower the quality gets. For this reason, these images are typically used for digital media rather than printed materials.
Vector: Vector files are commonly used for printing images. They’re made up of mathematical formulas instead of individual pixels. You can resize your logo without sacrificing quality.
When you’re formatting your logo, don’t underestimate the importance of layout in a custom design. For larger images, it might be best to use a vector file rather than a raster file—otherwise, the image may look grainy. When sharing logo files (like PDF, EPS, or SVG), security is crucial since they often contain sensitive brand assets. To prevent interception or tampering, always use encrypted connections—such as an IPSec VPN protocol —when accessing or sending these files.
Now that you’re familiar with these general formats, we’re going to dive into the different extensions of each:
JPEG (Joint Photographic Experts Group)
JPEGs (or JPGs) tend to be smaller files, so they’re quick to download and upload to most websites. However, using a JPEG file format may reduce the quality of your image. You also can’t add transparent backgrounds to JPEGs.
When to use JPEG: Adding logos to a website.
PDF (Portable Document Format)
These files can be opened on any device, from a desktop computer to a phone. When you want to add a transparent background behind your image, a PDF is the way to go. PDFs are typically vector files, but they can also be raster files. If you only have a jpeg format, you can use a JPG to PDF Converter to convert your file within seconds.
Is your logo a work in progress? If so, stick to PDFs. Since it’s tricky to edit PDFs, only use this extension for your logo once you’ve finalized the design.
When to use PDF: Adding transparent backgrounds, sharing your logo with others.
Make your own logo in seconds!
Try It NowMake your own logo in seconds!
Try It NowPNG (Portable Network Graphic)
If you have a logo with a limited color palette, lots of text, or detailed lines, use a PNG file format. This raster file is ideal when you need to add a transparent background behind your logo.
These file sizes tend to be larger, so set aside a bit of extra time to download PNGs.
When to use PNG: Social media, blogs, and other digital platforms.
SVG (Scalable Vector Graphic)
This is a vector file type, so you’ll get a sharp image at any resolution with this file type. With an SVG, you can scale the image without compromising quality. This extension is great for online graphics.
When to use SVG: Logos for websites and blogs.
EPS (Encapsulated PostScript)
When you need to print your logo, consider an EPS file format; it’s another type of vector file. EPS is considered the gold standard for printing logos. They’re easily scalable since the file is composed of individual shapes rather than pixels. EPS files are perfect for printing high-resolution images.
The owner of General Label Inc. writes, “Before you print anything, consider how your logo will fit on a label. If you’re upscaling the size of the logo, be sure to choose a flexible file type.”
When to use EPS: Printing materials.
If you’ve ever printed a logo, only to find that it’s pixelated and blurry, you might have wondered why. It could be because you used the wrong file type or extension.
Now that you’re familiar with most image file formats, we hope you’ve identified which type will work best for your logo.


